

Knowbler for Agents in ServiceNow
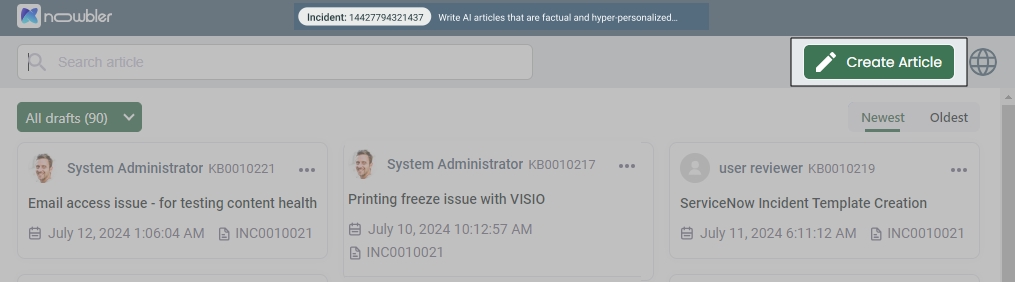
Using Knowbler, agents can create knowledge articles faster by gathering and collating the information stored in the incidents. To view the application, open an incident.
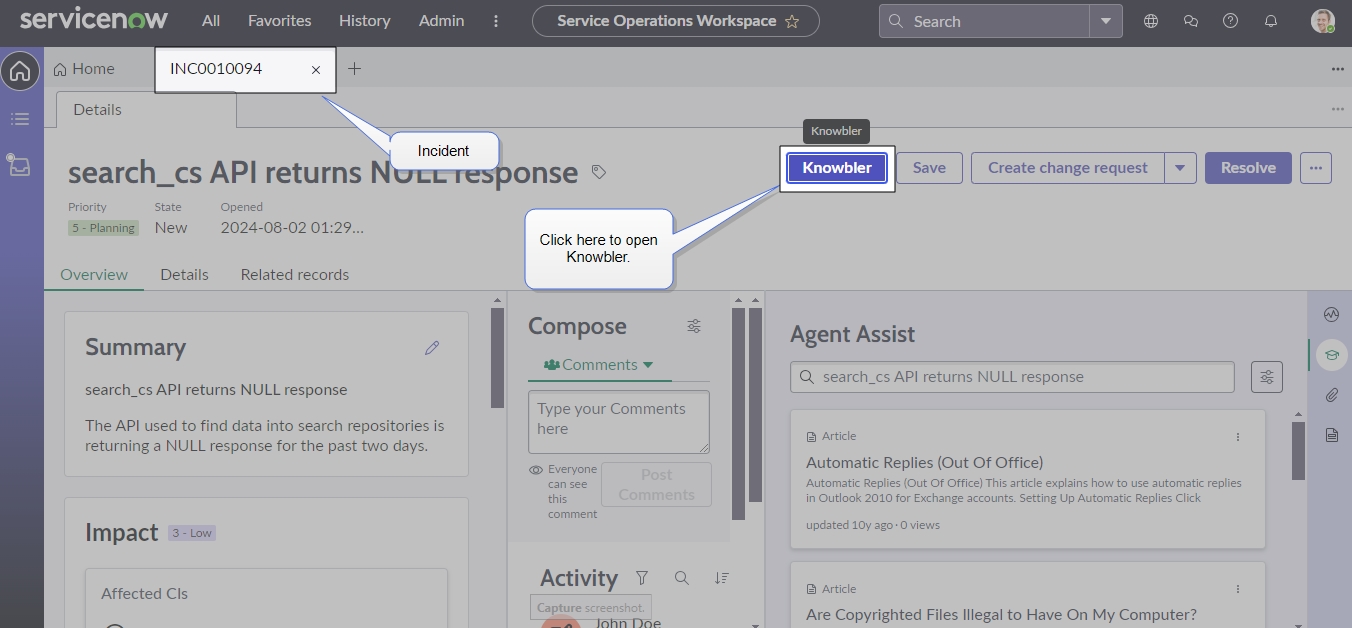
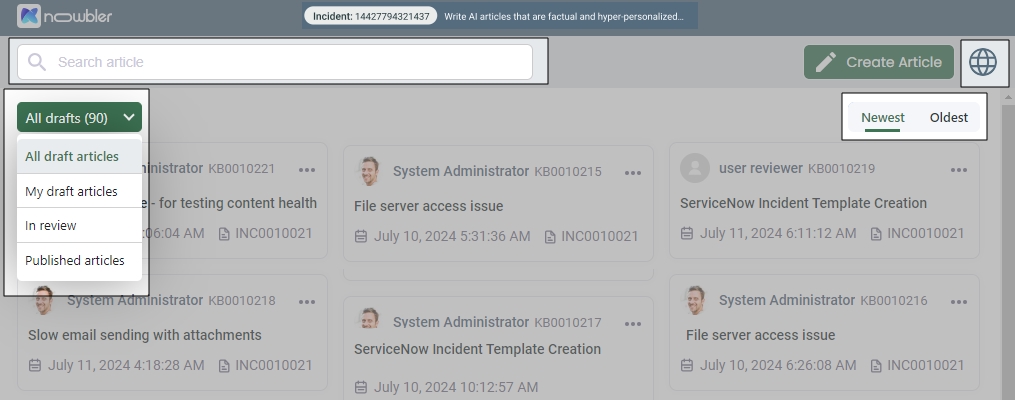
View Knowledge Articles
The Knowbler application opens in a new browser window. You can use the search box to find a knowledge article or use one of the filters. There are three filters available:
-
Article Type: Select between All draft articles, My draft articles, In review, and Published articles.
-
Sort: Pick the default sorting; either Newest or Oldest
-
Article Language: View articles in your language.
Saving, Reviewing, and Publishing Drafts
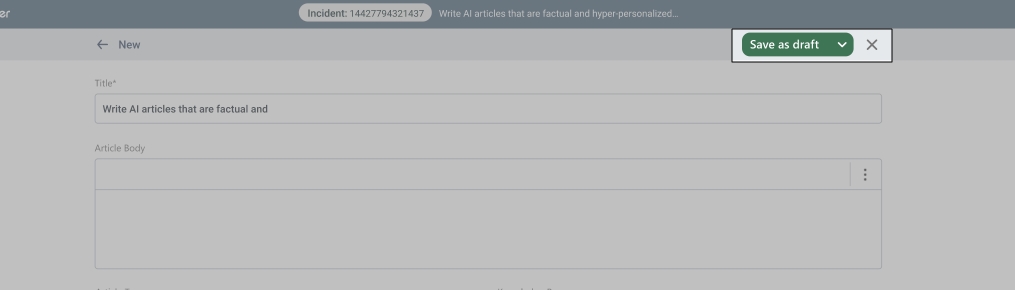
When your draft is ready, choose one of the following options:
-
Save as Draft
-
Send for Review
-
Publish
-
Publish & Attach
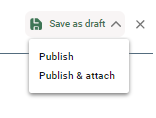
Fig. A snapshot of the draft sharing and publishing options in Knowbler.
Save as Draft
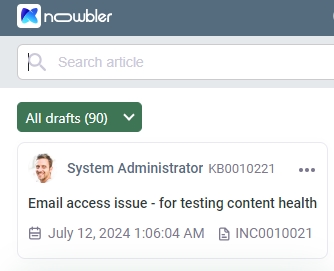
Selecting this option will save the article as a draft in ServiceNow. Agents can see a Draft icon on the article.
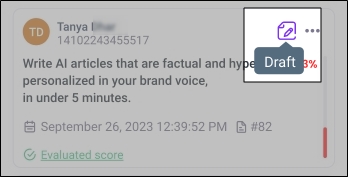
Fig. A snapshot of an article saved as a draft.
Send for Review
This option is available only if the Content Health Score configuration is enabled. Clicking this option shares the article with a content reviewer, who can access it under the Submitted for Review tab. Agents will see a Sent for Review icon on the article.
-
The Content Health Score is based on the latest version of the article, whether it's a published version or one sent for review.
-
Articles sent for review cannot be edited. Review the article carefully before selecting this option.

Fig. A snapshot of an article sent for review.
Publish
This option is visible only to users with the necessary permissions. Clicking this option opens a dialog box where you can choose to either publish the article immediately or schedule it for later. Published articles display a Published icon.
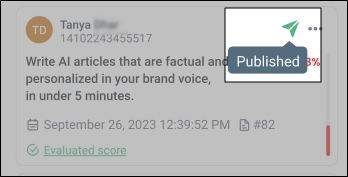
Fig. A snapshot of a published article.
Publish & Attach
Selecting this option publishes the draft and links it to the case currently open in the background.
Managing Duplicate Drafts
When saving or publishing an article that is similar to an existing published or drafted article, Knowbler displays an alert about potential duplicates.
Knowbler displays the duplicate articles along with their similarity scores. Articles with the same similarity score are sorted as follows:
-
Published Articles appear before drafts.
-
Most Recently Modified Articles appear before older ones. For example, an article modified on September 15, 2025, will appear before one modified on September 10, 2025.
A list of similar articles is generated using machine learning, which compares the content of the article being created with existing articles.
The similarity is based on mapped fields in the template that are marked as "Include the field for AI/ML Predictions" during template configuration.
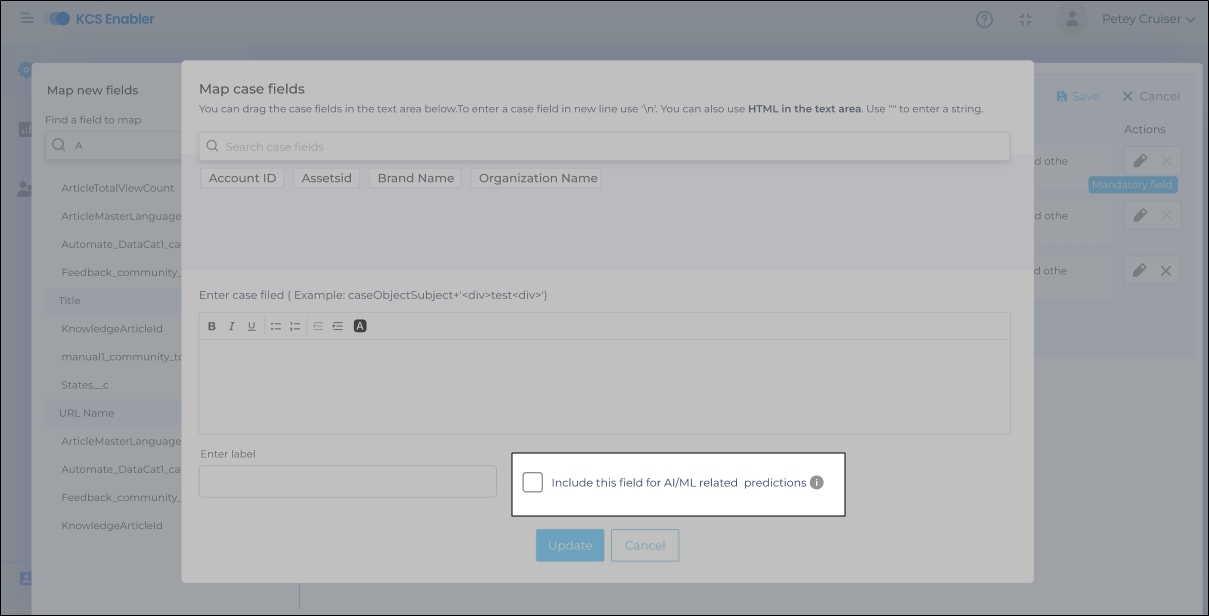
Fig. A snapshot of the "Map Case Fields" screen. Only the Knowbler admins can view it.
You can review the list of similar articles and decide whether to:
-
Back to Editing: Return to make changes in your article. Editing is disabled on the Similar Articles Found screen.
-
Proceed Anyway: Save or publish the article despite the duplicates.
The placement of the Back to Editing and Proceed Anyway buttons depends on the view:
-
Full-Screen Mode: Buttons appear below the similar articles list.
-
Case Page View: Buttons appear above the similar articles list.
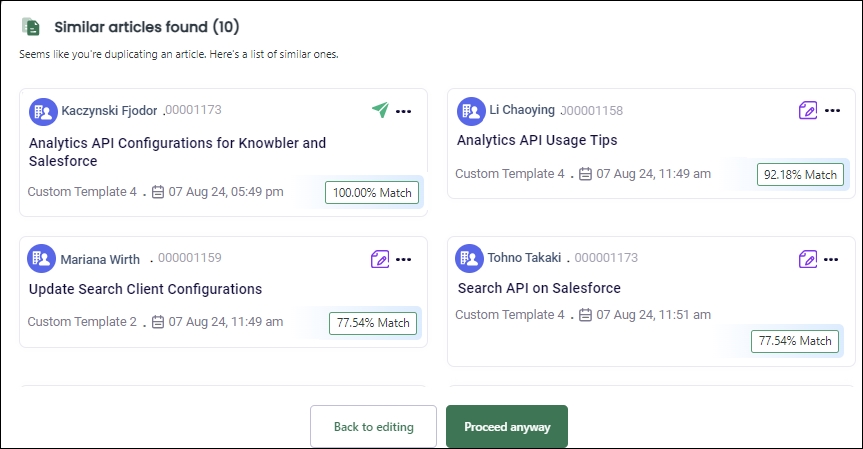
Fig. A snapshot of the Similar Articles Found screen.
Benefits of Duplicate Detection
-
Prevents Knowledge Base Clutter: Stops the creation of duplicate articles.
-
Improves Search Experience: Ensures search results are not crowded with duplicates.
-
Enhances End-User Experience: Helps users quickly identify the authentic article without confusion.
Auto-Attaching Articles to Cases
After the warning about the duplicate article, a second dialog box, Attach Article to Case On Publish, is displayed when two conditions are fulfilled:
- The Knowbler admin has turned on Automatically Attach Articles to Original Cases When Published
- The Service Desk, where the agents work, and the Knowledge Management platform, where the articles are published, are the same.
The agents can choose between a Yes and a No:
-
When the agent clicks Yes, the article drafted by them is automatically attached to the case when it is published.
-
When the agent clicks No, the article drafted by them has to be manually attached to the case when it is published.
Clicking Yes is advisable because the agent doesn't have to keep a track of the article and manually attach it to the case.
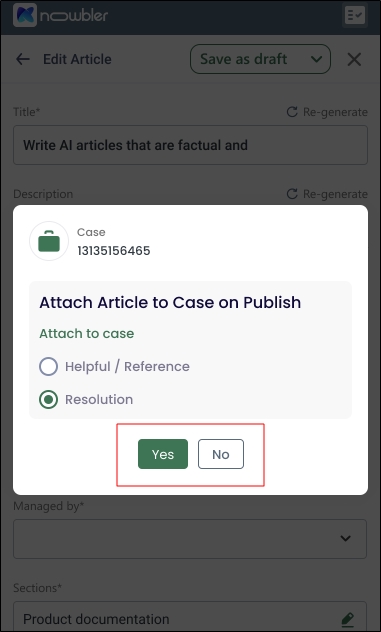
Fig. A snapshot of the Attach Article to Case on Publish dialog.
If the Knowbler admin has turned on Reference or Resolution (Article Type Input), the agent will also see an option to categorize the article.
-
Check Reference if the article will help the customer in the given case.
-
Check Resolution if the article will solve the case.
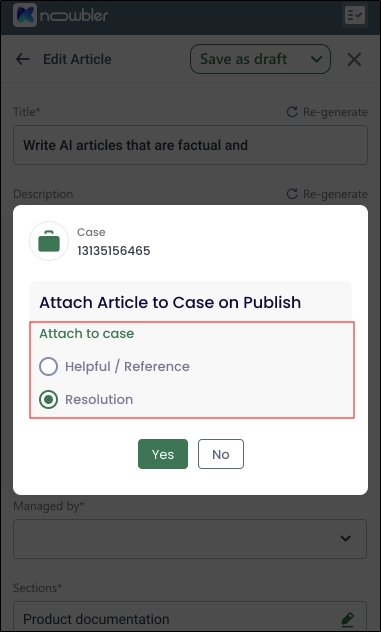
Fig. A snapshot of the Attach Article to Case on Publish dialog.
The agent cannot select Resolution when another agent has already attached a Resolution article to the case. There can be at most only one Resolution article attached to a case.
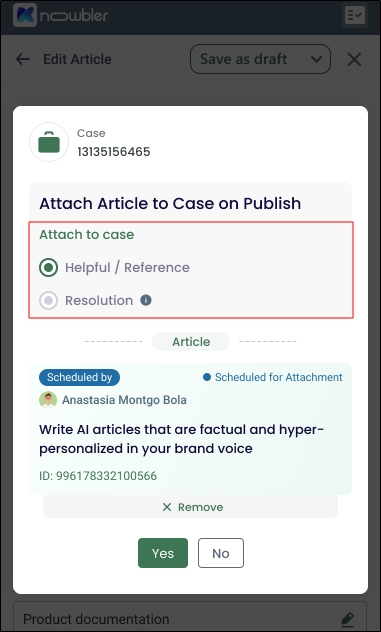
Fig. A snapshot of the Attach Article to Case on Publish dialog.
Once an article has been Scheduled for Publishing, clicking Remove means that the article will not be attached to the case when it is published.
The agent's name is linked with the article and it cannot be removed.
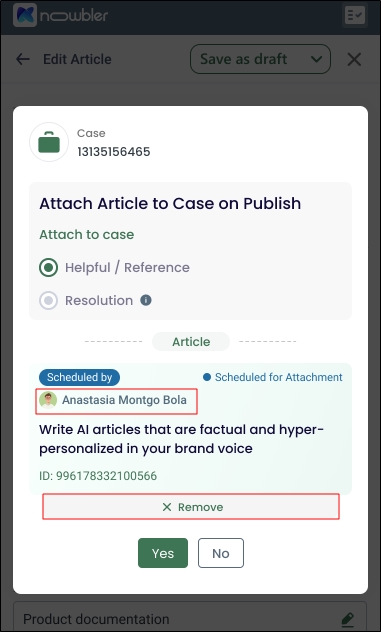
Fig. A snapshot of the Attach Article to Case on Publish dialog.
When the Attach Article to Case On Publish dialog is opened and the agent switches to a different case, a pop-up with two buttons is displayed: Proceed and Cancel.
-
If the agent clicks Proceed, the article will be attached to the new case after publishing.
-
Clicking Cancel means that the agent cannot switch to the new case.
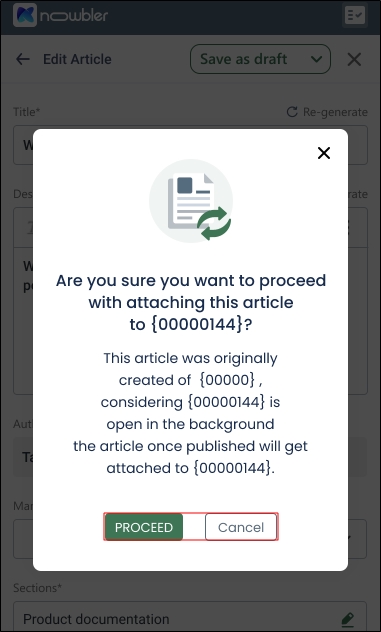
Fig. A snapshot of the Attach Article to Case on Publish dialog.
The article Scheduled for Publishing isn't attached to the case if it is deleted from ServiceNow before publishing.
If the Attach to Case option is inactive in your ServiceNow instance, the published articles are Linked as Case Comment.
If neither Attach to Case and Linked as Case Comment are active, then the published articles are shared with the customers through email.
Access Control and Other Settings
On Knowbler instances, a second tab can be spotted next to Create Article.
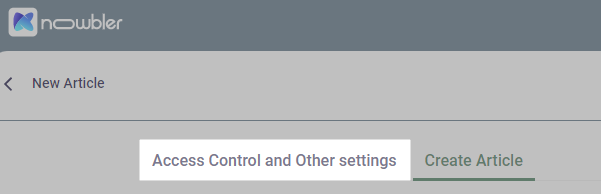
Fig. A snapshot of the "Access Control and Other Settings" tab.
The default name for the second tab is Access Control and Other Settings, but the name can be changed from the Field Mapping screen.
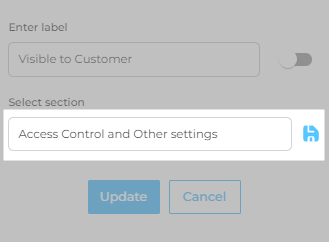
Fig. A snapshot of the "Access Control and Other Settings" dialog.
Create Article contains content fields, such as title, urlName, and summary. The fields that carry permissions—such as isVisibleInCsp and isVisibleInPkb—are stored in Access Control and Other Settings. If a Knowbler admin has assigned at least one field to Access Control and Other Settings, then the agents will see two tabs. Else, they will find only one tab in the Knowbler.

Fig. A snapshot of the "Access Control and Other Settings" settings for Knowbler admins.
Regenerating Articles
NOTE.
This feature only works when LLM is enabled.
Knowledge articles can become obsolete when new information is added to a case. This can happen when a customer opens a case again and the new resolution is slightly different. It can also happen when an expert suggests a more efficient solution. The scenarios are many. The only thread uniting those scenarios is the need to update the knowledge article based on the latest case details. The Re-generate button helps agents update knowledge articles faster.
To update an article, open the case linked to it in the background, launch Knowbler and then click Re-generate.
Re-generate over the field Description updates only the content in the description field and Re-generate over the field Title updates only the content in the title field.
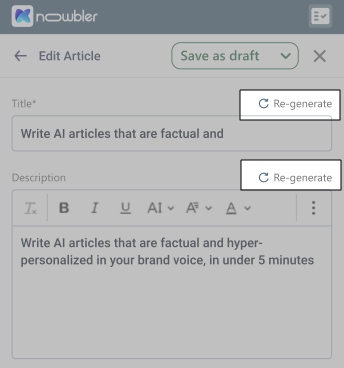
Fig. A snapshot of the Re-generate button in Knowbler.
Related Articles
Knowbler shows a Related Articles banner when:
-
a published article has been attached to the case opened in the background
-
a draft article has been created for the case open in the background
Support agents can view the published articles and article drafts by clicking the Related Articles banner.
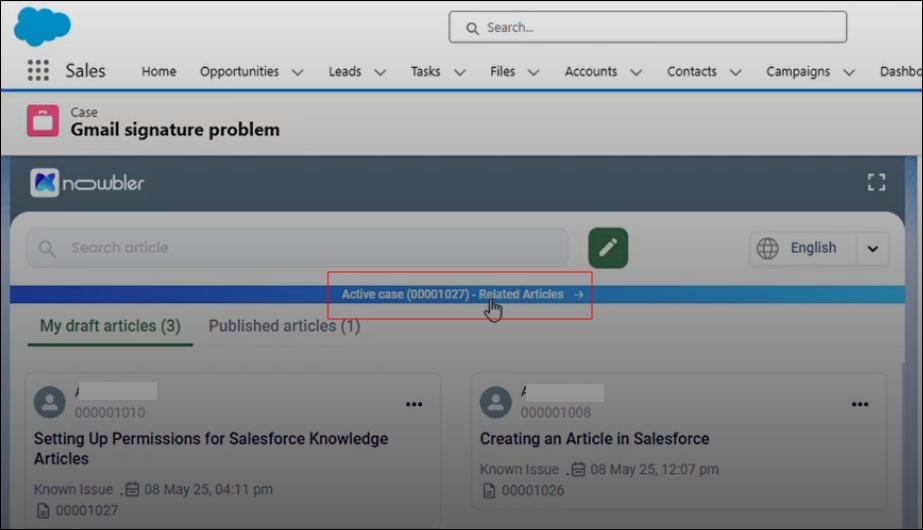
Fig. A snapshot of the Related Articles banner in Salesforce.
The agents can see the following information along with each article:
-
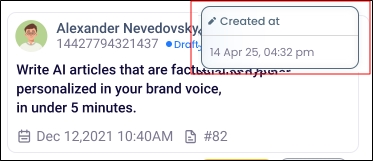
Created: An article has been created for the case open in the background, but it hasn't been attached to the case. By placing the cursor over Created at, the agents can see when the article was created.
-
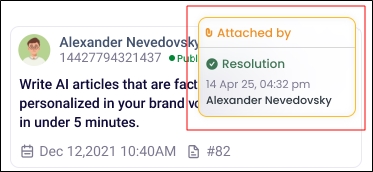
Attached: An article has been created for the case open in the background and it has been attached to the case. By placing the cursor over Attached by, the agents can see when the article was attached and if it's a Resolution or Reference.
-
Draft: The article is currently in the draft stage.
-
Archive: The article has been Archived.
-
Published: The article has been published.
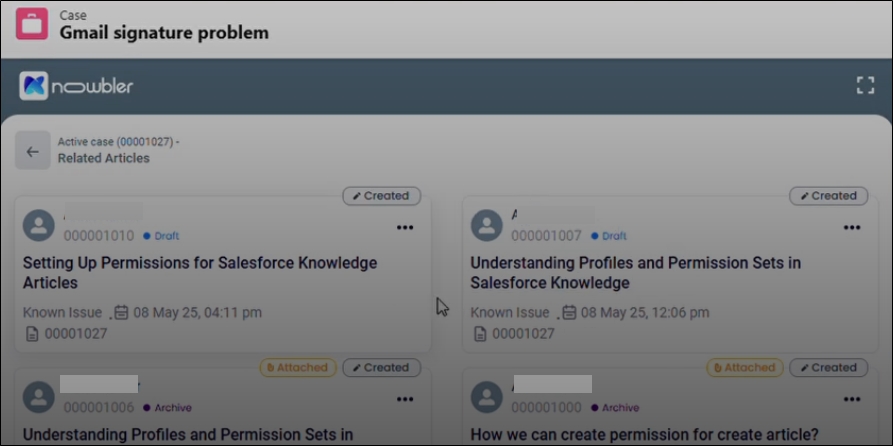
Fig. A snapshot of the related articles list.
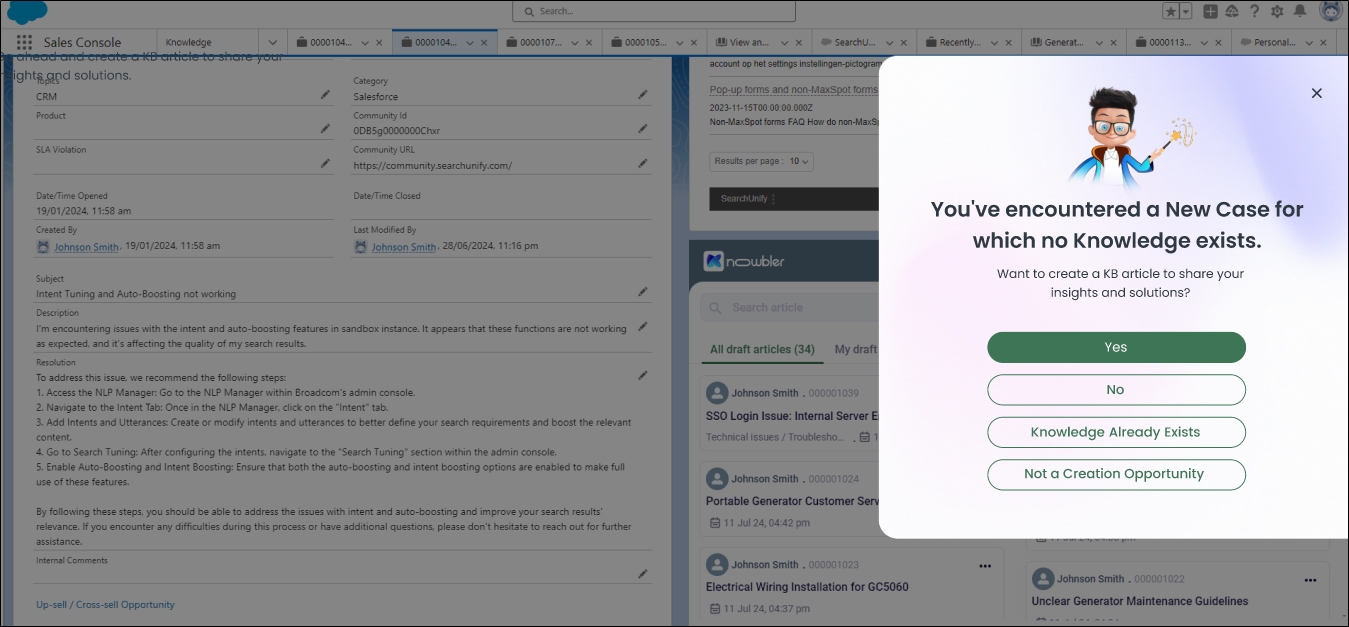
Gamification
When gamification is enabled, support agents will see a dialog box before proceeding to create knowledge articles. The agents must choose one of four available responses. Both their chosen response and subsequent actions (such as article creation or sharing) are recorded on the Knowledge Dashboard.
Agents can track their individual statistics through their Profile.
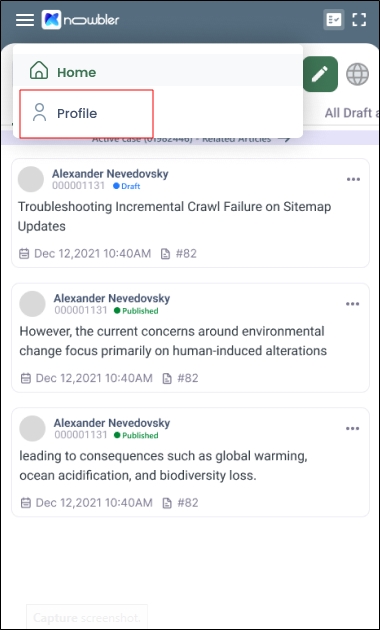
Clicking Profile opens a dashboard where the support agents can view their own statistics in Knowbler. The agents can click View Dashboard to view a tab similar to Performance Insights. The agents can read Knowledge Champion Dashboard Glossary to learn how to interpret the statistics.

Sharing Articles
You can share published knowledge articles in four ways: Attach to Case, Link via Email, Link via Case Comment, and Copy to Clipboard.
To start, use the search box to find a knowledge article for sharing. Search supports Synonym Groups and you can receive up to 2000 results for a query. Results featuring all of your search terms are prioritized over those with only some of the terms. For instance, a query like [a b c d e] will show results with [a b c d e] before showing results with [a b c d], [a d e], [b c e], or any other combination. When searching, use brief queries. Queries exceeding 100 characters reduce relevancy in search results.
-
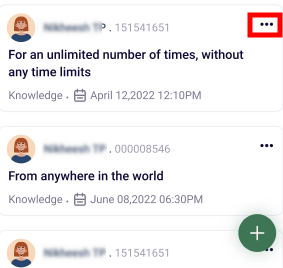
Once you have located the right article in search results, click on ellipsis.
-
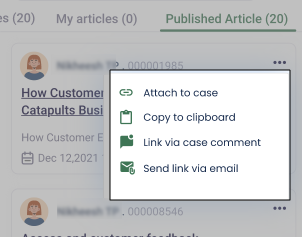
Select a sharing option:
-
Attach to Case links a knowledge article to the opened ServiceNow case.
-
Link via Email sends an email with the knowledge article's URL. The support agent supplies the receiver's address. The link is inserted either at the beginning of your message or where your cursor is.
-
Link via Case Comment publishes a new comment on the case page with the knowledge article URL.
-
Copy to Clipboard copies the knowledge article URL to your device's buffer.
-
-
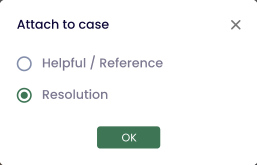
Unless you have picked "Copy to Clipboard", you'll be asked if the article-to-be-shared is a Reference or Resolution. You can only add one resolution to a case but there is no upper limit to the number of reference articles that can be attached.
-
Click OK to proceed.
The agents can remove attached published articles from cases using the Detach from Case option.
Create Knowledge Articles
-
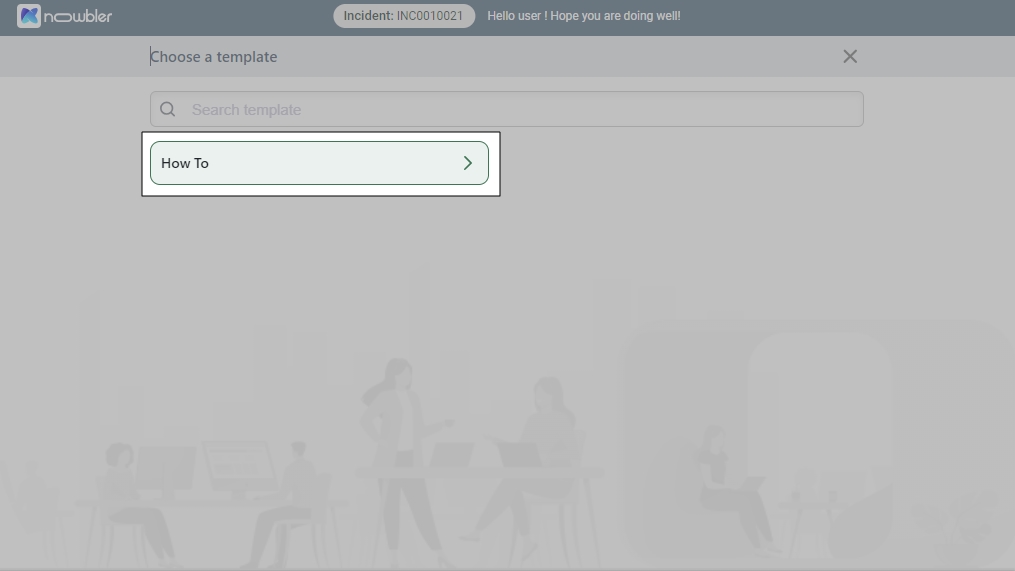
Click Create Article.
-
Choose a template.
-
Edit the data in the mapped fields.
NOTE 1. Ensure that the Title and URL fields aren't empty. Articles cannot be saved when either of these fields is empty.
-
Use the rich text editor to draft articles. The enhanced editor offers several formatting options: the ability to insert images, tables, blockquotes, code blocks, and many others.
-
Alternatively, wait for the title and summary to be auto-generated. The title and description are generated in a matter of a few seconds. This feature works when Knowbler is connected with an LLM. If auto-generate doesn't work in your Knowbler, then ask your admin to set it up.
-
NOTE
The titles can take a few seconds to generate.
While the titles are being generated, the URL field and the Save button are disabled
You can cancel automatic title generation anytime.
-
-
Once the draft is ready, save it. The draft is shared with Content Reviewers, if Content Health is turned on. The process of activating Content Health is explained in Configure Advanced Settings in Knowbler
Edit a Knowledge Article Draft
-
To make changes in an article, click ellipsis (
 ).
).
- Click Save.
Deleting Knowledge Article Drafts
Agents can now delete article drafts from My draft articles. All the deleted articles are removed from Knowbler and Salesforce. These articles are also removed from the following reports in Knowbler Analytics:
-
Overview
-
Contributor Analytics
-
Knowledge Visualization
-
Duplicacy Checker (max 24 hours)
-
Content Health Score (max 24 hours)
The steps for deleting a draft article are mentioned below:
-
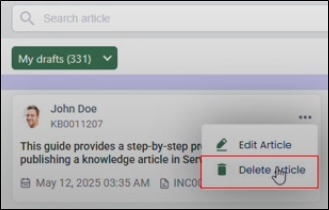
To delete an article, go to the My draft articles tab.
-
Click on the three dots(...).
-
Click Delete Article.
-
You will see a message: Are you sure you want to delete the article?
-
Select Delete.
-
The deleted article will disappear from My Drafts.
Regenerate an Article
When case details or resolution information are updated, agents are expected to revise the related knowledge articles. To streamline this process, a Re-generate button has been introduced. Clicking the button sends the updated case details to the connected LLM, which generates a new title or summary based on the most recent data.
Retiring Published Articles
The Retire Article function is visible to all the agents, who have the permission to archive articles in ServiceNow. This option can be accessed by clicking ellipsis () in a published article. Once an article has been archived, it is removed from Knowbler after a buffer of five minutes.
To remove the articles, the agents and the admins must have the permission to retire articles in ServiceNow.
Tthe archived articles are:
-
Removed from the Overview Report
-
Excluded from the Low Impact KB Article Report
-
No longer displayed in the downloaded CSV reports
-
Not considered in calculating the Content Health and Content Health Summary reports
-
No longer displayed in the Duplicacy Checker
To archive an article:
- Navigate to the Published Articles tab.
- Click ellipsis ().
-
Click Archive Article.
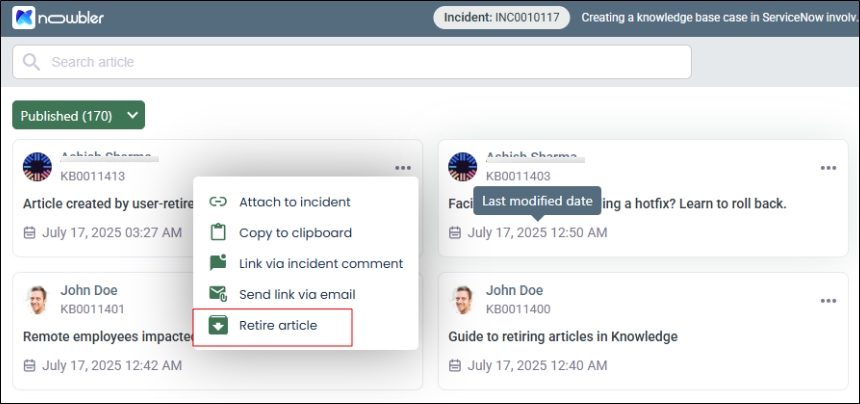
Fig. A snapshot of the Archive Article button in ServiceNow.